Performing a Mail Merge with Field Service Scheduling Software
By Henry Lau on Wednesday, December 23, 2020Mail merges can save you a ton of time and let you reach many customers at once with personalized messaging.
What is a mail merge? A mail merge is a process to automate/personalize letters and emails. A mail merge requires two items. The first item is a data source, or the data that your mail merge needs in order to insert information such as name and address. You can use a spreadsheet or a database as a data source. The second item is your mail merge template. This is a Word document with merge fields in it that dictate the data field(s) in your data source to print on your Word document.
Using Mail Merges
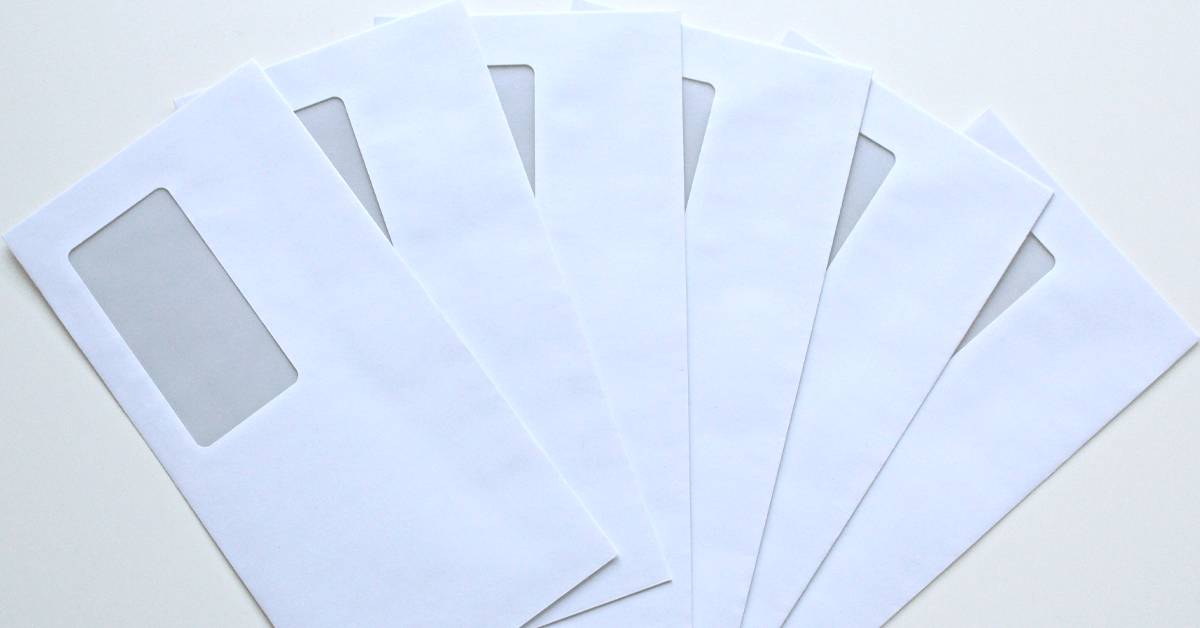
Instead of preparing individual letters or emails, mail merges allow users to create multiple documents quickly and efficiently. You can use a mail merge to create letters for marketing purposes. If you need customer addresses printed on envelopes for a series of marketing letters, you can simply create a mail merge. Once you have your mail merge template set up, the next time you need to print additional envelopes you can just load the template that you have created for those envelopes. Using a mail merge will save you a lot of time and the effort it takes to manually create and edit documents one by one.
Creating Mail Merges in the Field Service Management Software Smart Service
The field service management software Smart Service provides two options for generating a mail merge. If you wish to create a mail merge with all of your customers in Smart Service, start by creating a marketing campaign. If you only need to create a mail merge for one of your customers or jobs, open that customer or job and click on the mail merge button. Both of these options will automatically create a data source for you, so all you have to do is create the mail merge template. If you already have an existing mail merge template, you just need to load it.
Using Mail Merges With Marketing Campaigns in Smart Service
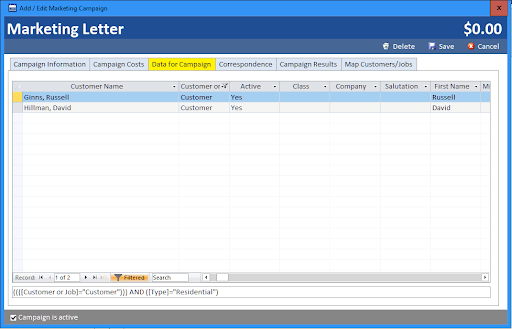
To create a mail merge for multiple customers or jobs, start by creating a Marketing Campaign in the Marketing window. In the Data for Campaign tab, filter the list of customers or jobs you wish to print on your mail merge. You can filter the list just like any Excel spreadsheet by clicking on the drop-down menu next to each of the columns you wish to filter. In this example, we have filtered for only residential customers.
Once you have the list filtered down, click on the Correspondence tab. Then click on the Create a Mail Merge button.
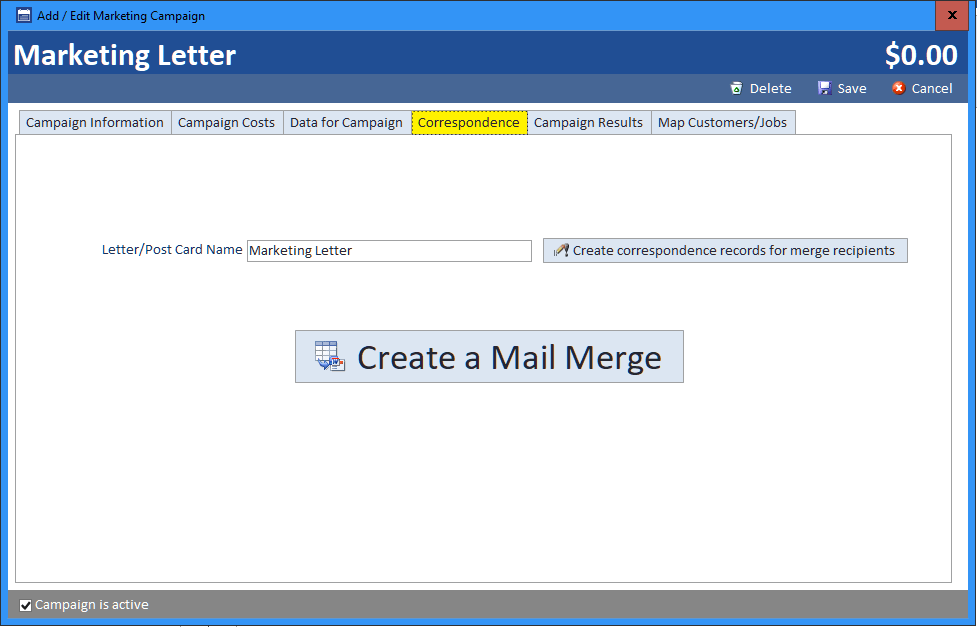
Smart Service will then ask you to select the Word template to use for your mail merge. Since we are creating a new template, we’ll click Cancel and a new Word template will open up.
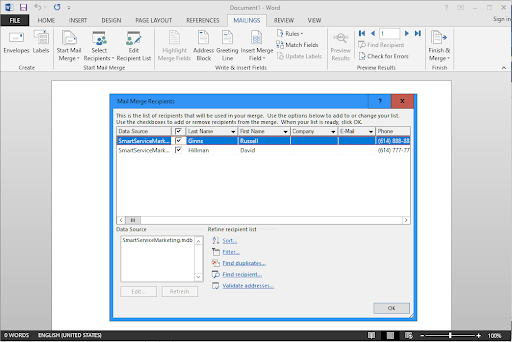
In Word, click on Edit Recipient List, and you can see that the data source has been created with the customers that you have previously filtered.
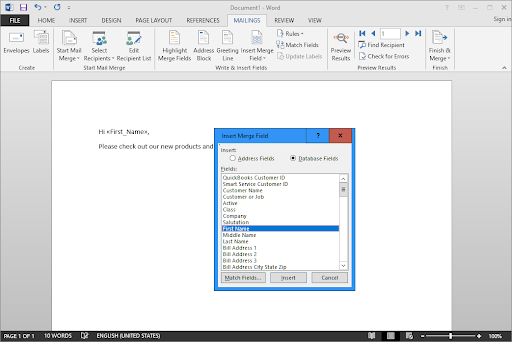
Click on Insert Merge Field to see the list of database fields available. Fields such as first and last name, address, customer type, and even user defined fields will be available. Select the fields you wish to use and click on Insert.
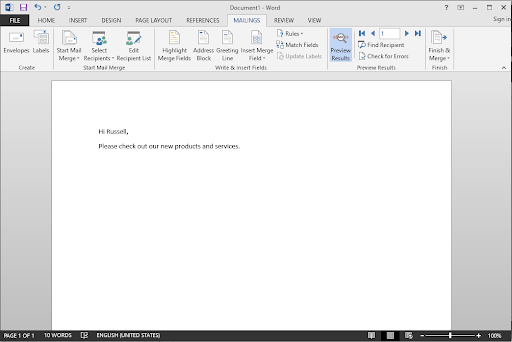
Next, click on the Preview Results button and you will see the mail merge replaced with actual data. You can click on the next record button to continue to view other records.
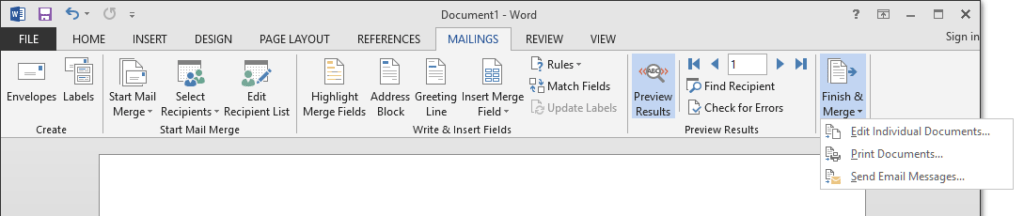
When you finish with the document, click Finish and Merge. You will then have options to print or send as an email.
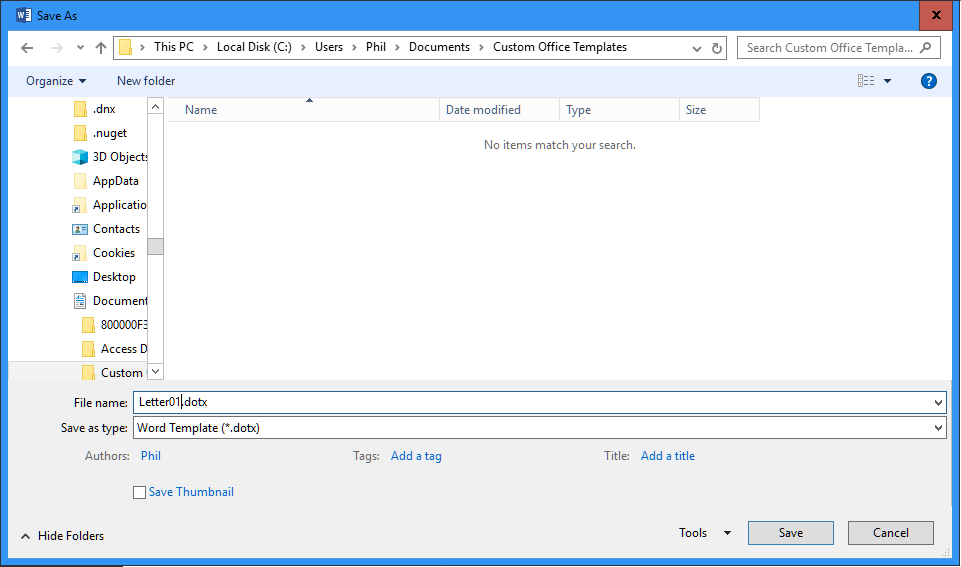
Save the document as a template so that you can open the template next time instead of recreating it again. In the Save as type, select Word Template (*.dotx).
Creating a Mail Merge for a Single Customer or Job
With Smart Service, you can quickly create a mail merge for a single customer or job. This is useful when you need to print a document or send an email that you already have an existing mail merge template for.
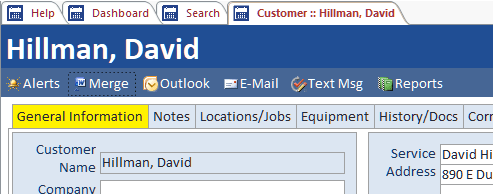
To do this, open the customer or job, then click the Merge button. Then, select the template that you have created, or create a new template by clicking on Cancel. Once again, you will notice that the data source is automatically generated, and you will see the data fields for the customer or job you have selected. You can then proceed to print or email your document.
Conclusion
As you can see, Smart Service can quickly create a mail merge with a simple click. The data source is automatically created, so you don’t have to worry about creating a separate spreadsheet for your data. If you are already familiar with using Word mail merge, creating a Word mail merge template will only take a few minutes. Once you’ve created a template, you can use it to generate documents or emails for your customers or jobs when needed. To learn more about mail merges in Smart Service, request a free Smart Service demo.